How to Use Lychee Slicer
How to use Lychee Slicer
If images are hard to read due to pixelization, it may be due to browser compression. Click/press on the image to see a full screen image.
Installation
Lychee Slicer is one of the slicer softwares used at the RPS for the Phrozen Sonic Mini 8K and Anycubic Photon Mono M7 Pro resin printers. The Lychee Slicer Lite version is downloadable here for free for Windows, MacOS, and Linux users. The Lychee Slicer Plus version requires a monthly subscription which includes all features in the Lite version plus advanced supports, support painting, one-click 3D hollowing, and grid, projection, and technical supports.
You will need to create an account with Lychee Slicer Lite on your personal computer, but if printing directly from the RPS, you can log on to one of the computers in the lab with a username and password provided at the time of use.
You can dowload Lychee Slicer Lite here.
Setup
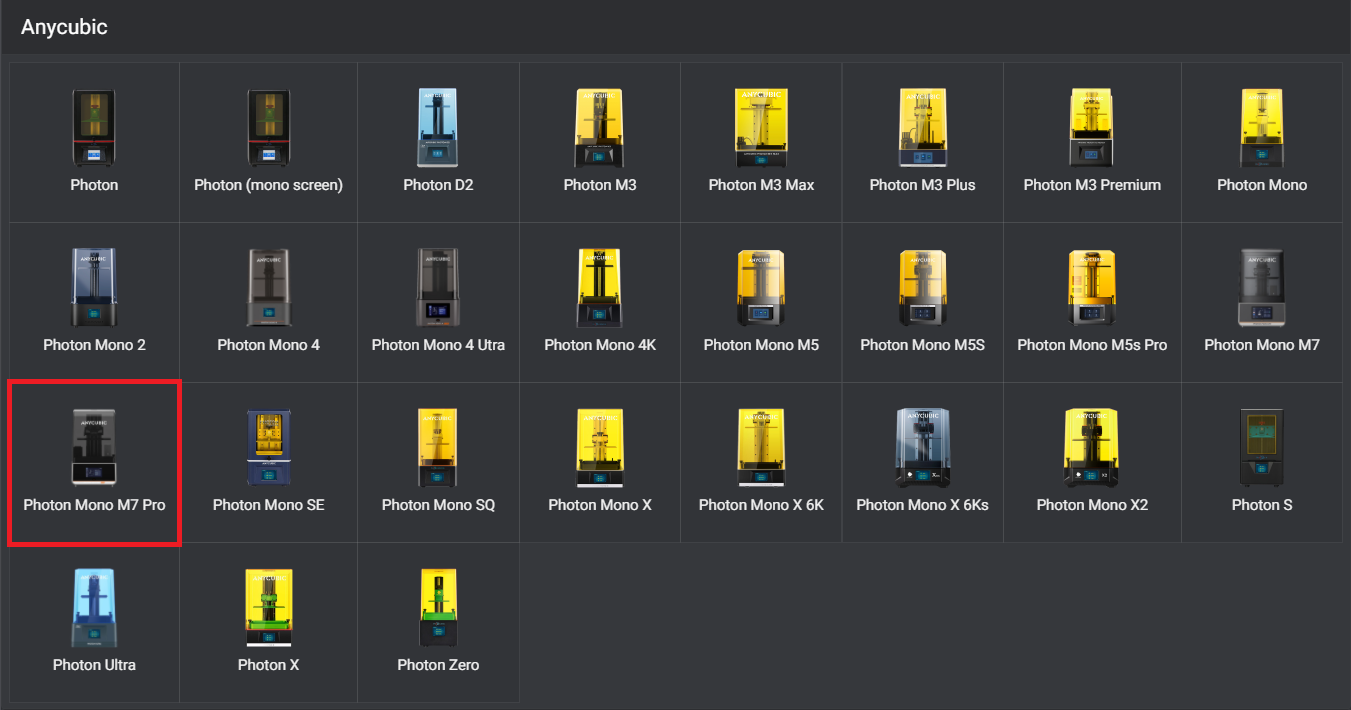
Currently, the RPS utilizes Lychee Slicer for the the Phrozen Sonic Mini 8K and the Anycubic Photon Mono M7 Pro. Once installed, follow the steps below to add them to your device:
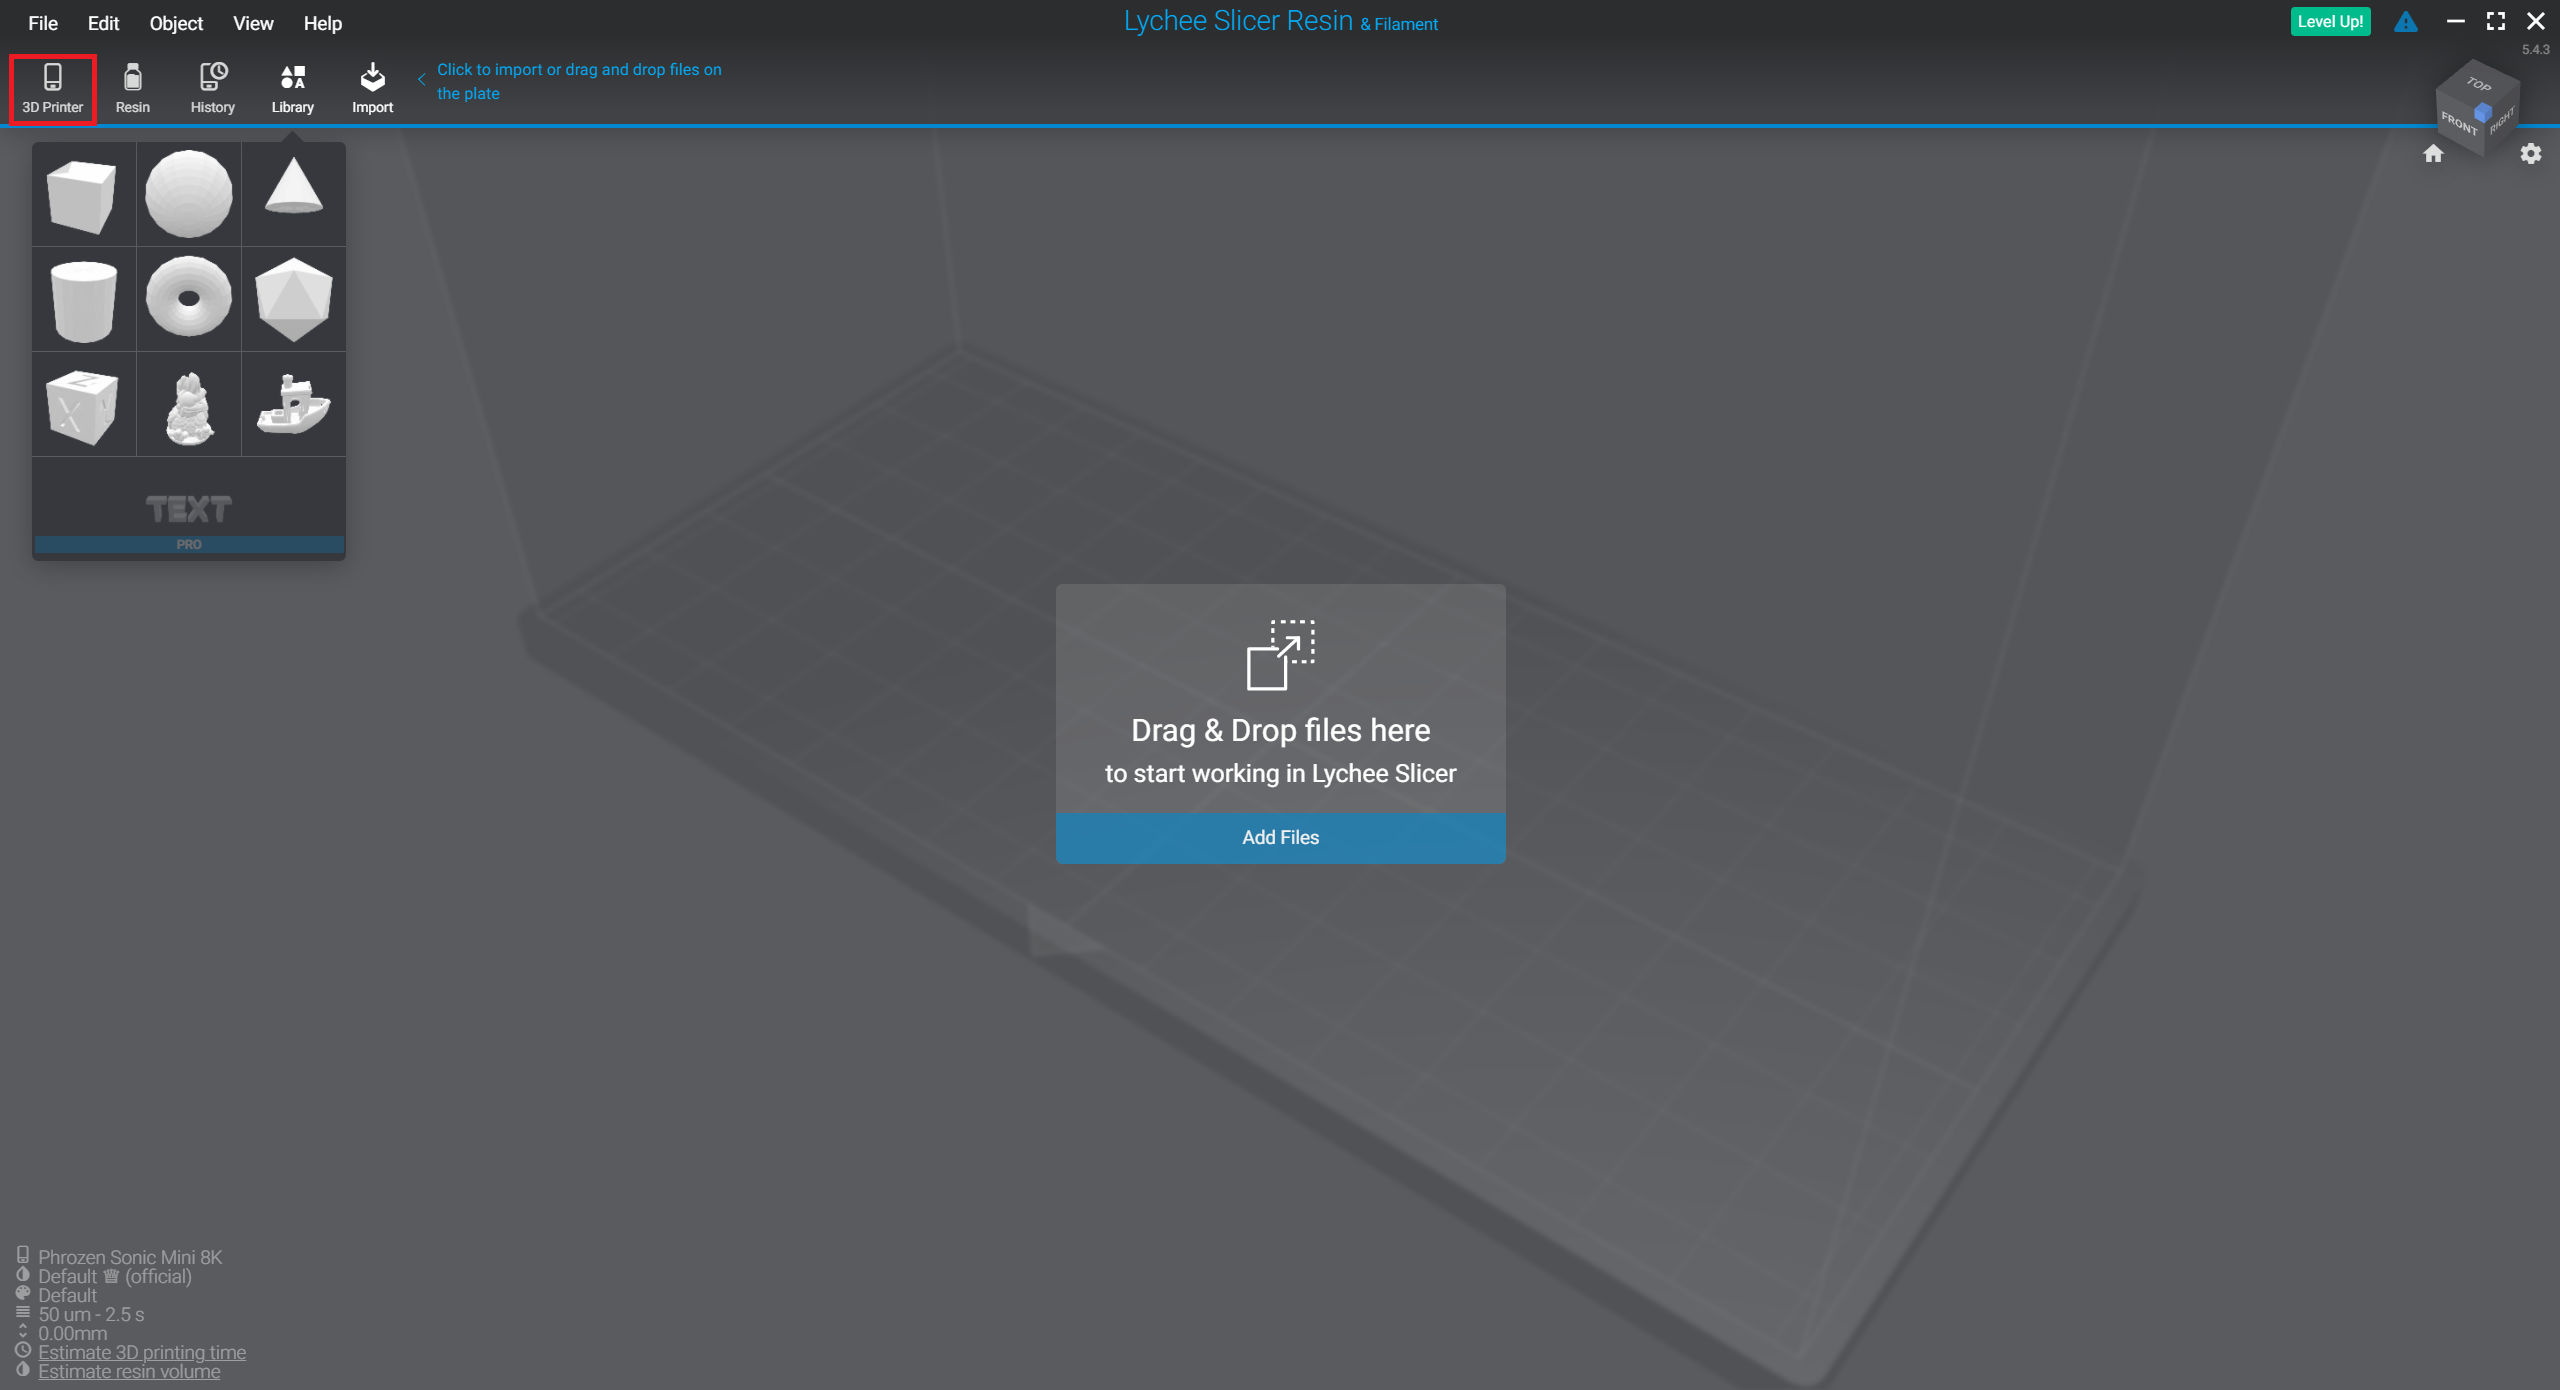
- Click 3D Printer on the top left
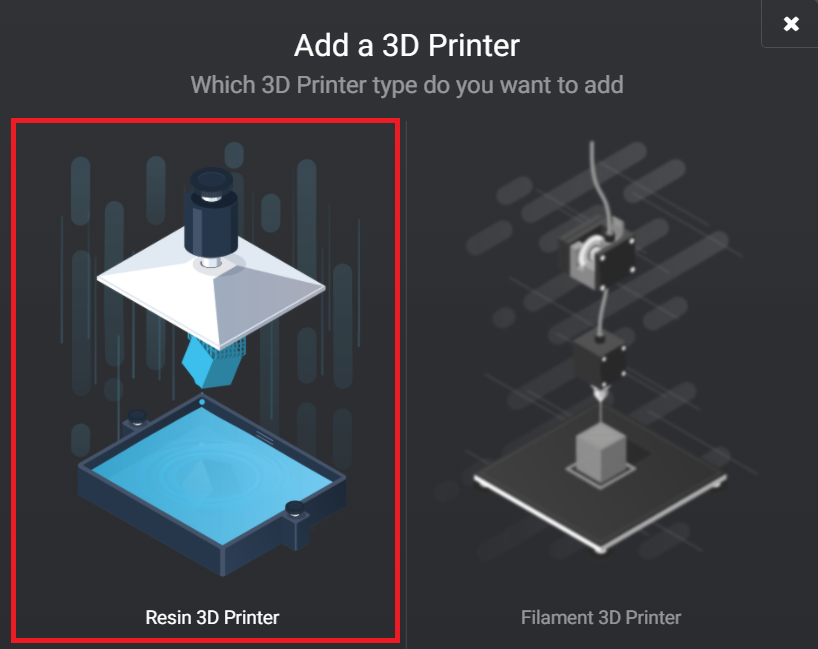
- Click Add in green

- Click Resin 3D Printer
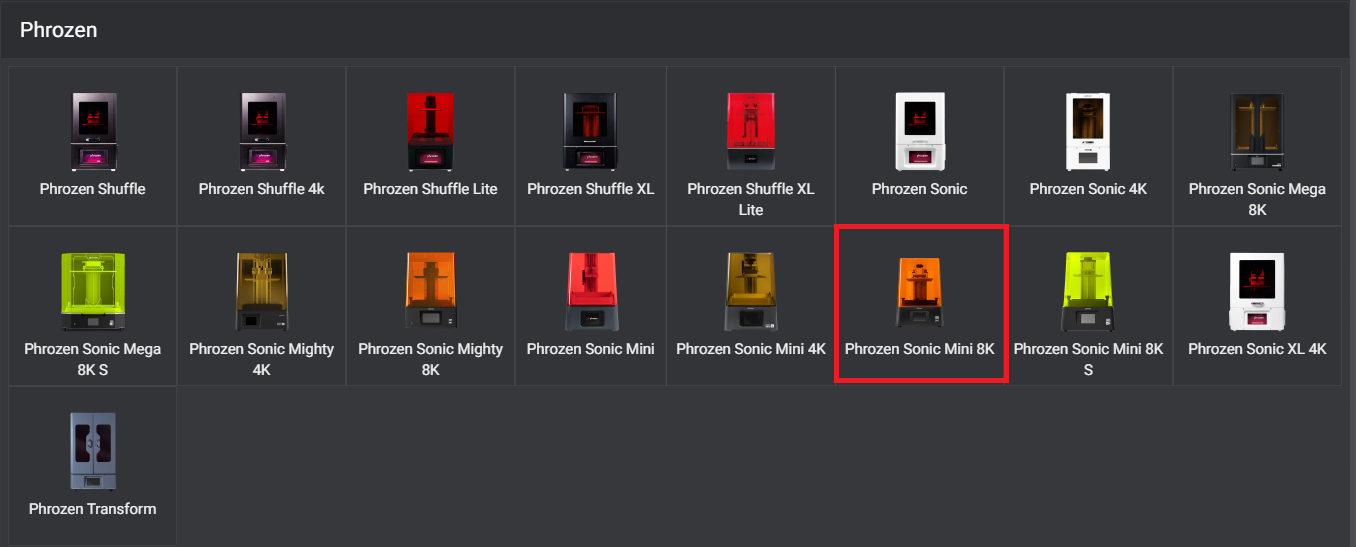
- Select the correct resin printers: Phrozen Sonic Mini 8K and Anycubic Photon Mono M7 Pro
- To add new resins, download the Anycubic Formlabs Grey Profile, and the Anycubic Formlabs Clear Profile and use these steps:
- Click Add New Resins
- Import from File (ensure the correct machine is selected when importing each profile)
- Add Files
- Upload the downloaded profile
- Import
- Change resin printer and repeat steps for corresponding printer and profile
All profiles will now be saved in your Lychee software.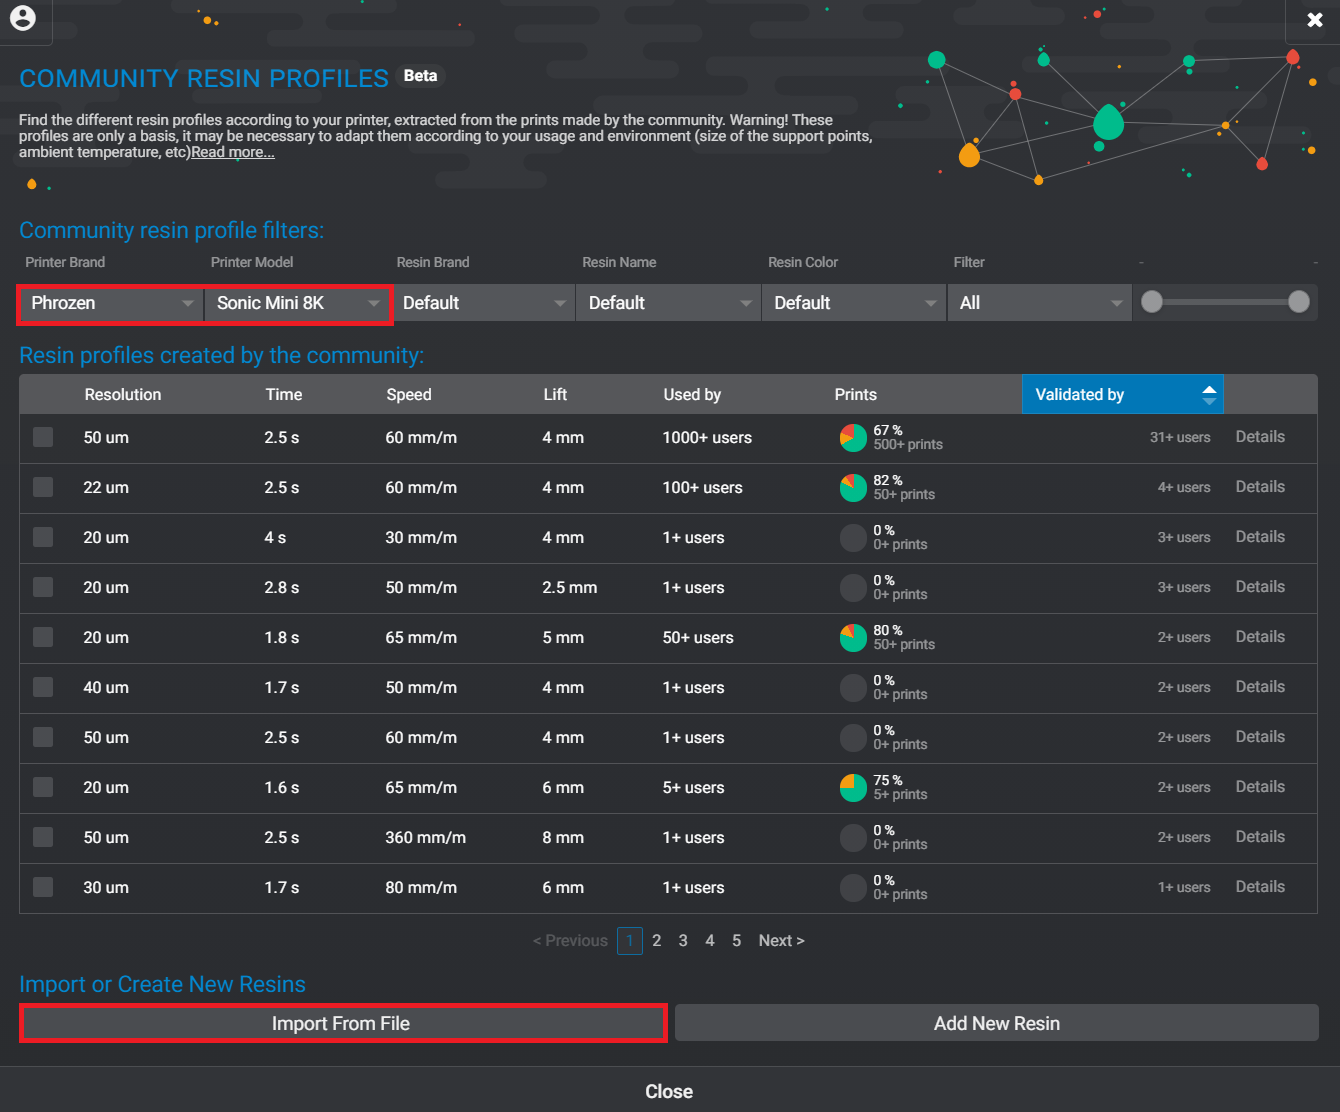
Usage
Layout
This page helps you to organize your plate and move, scale, and rotate objects. Make sure move objects so that they fit within the volume of the build plate. Use the On Platform button to ensure that a model's first layer is touching the build plate.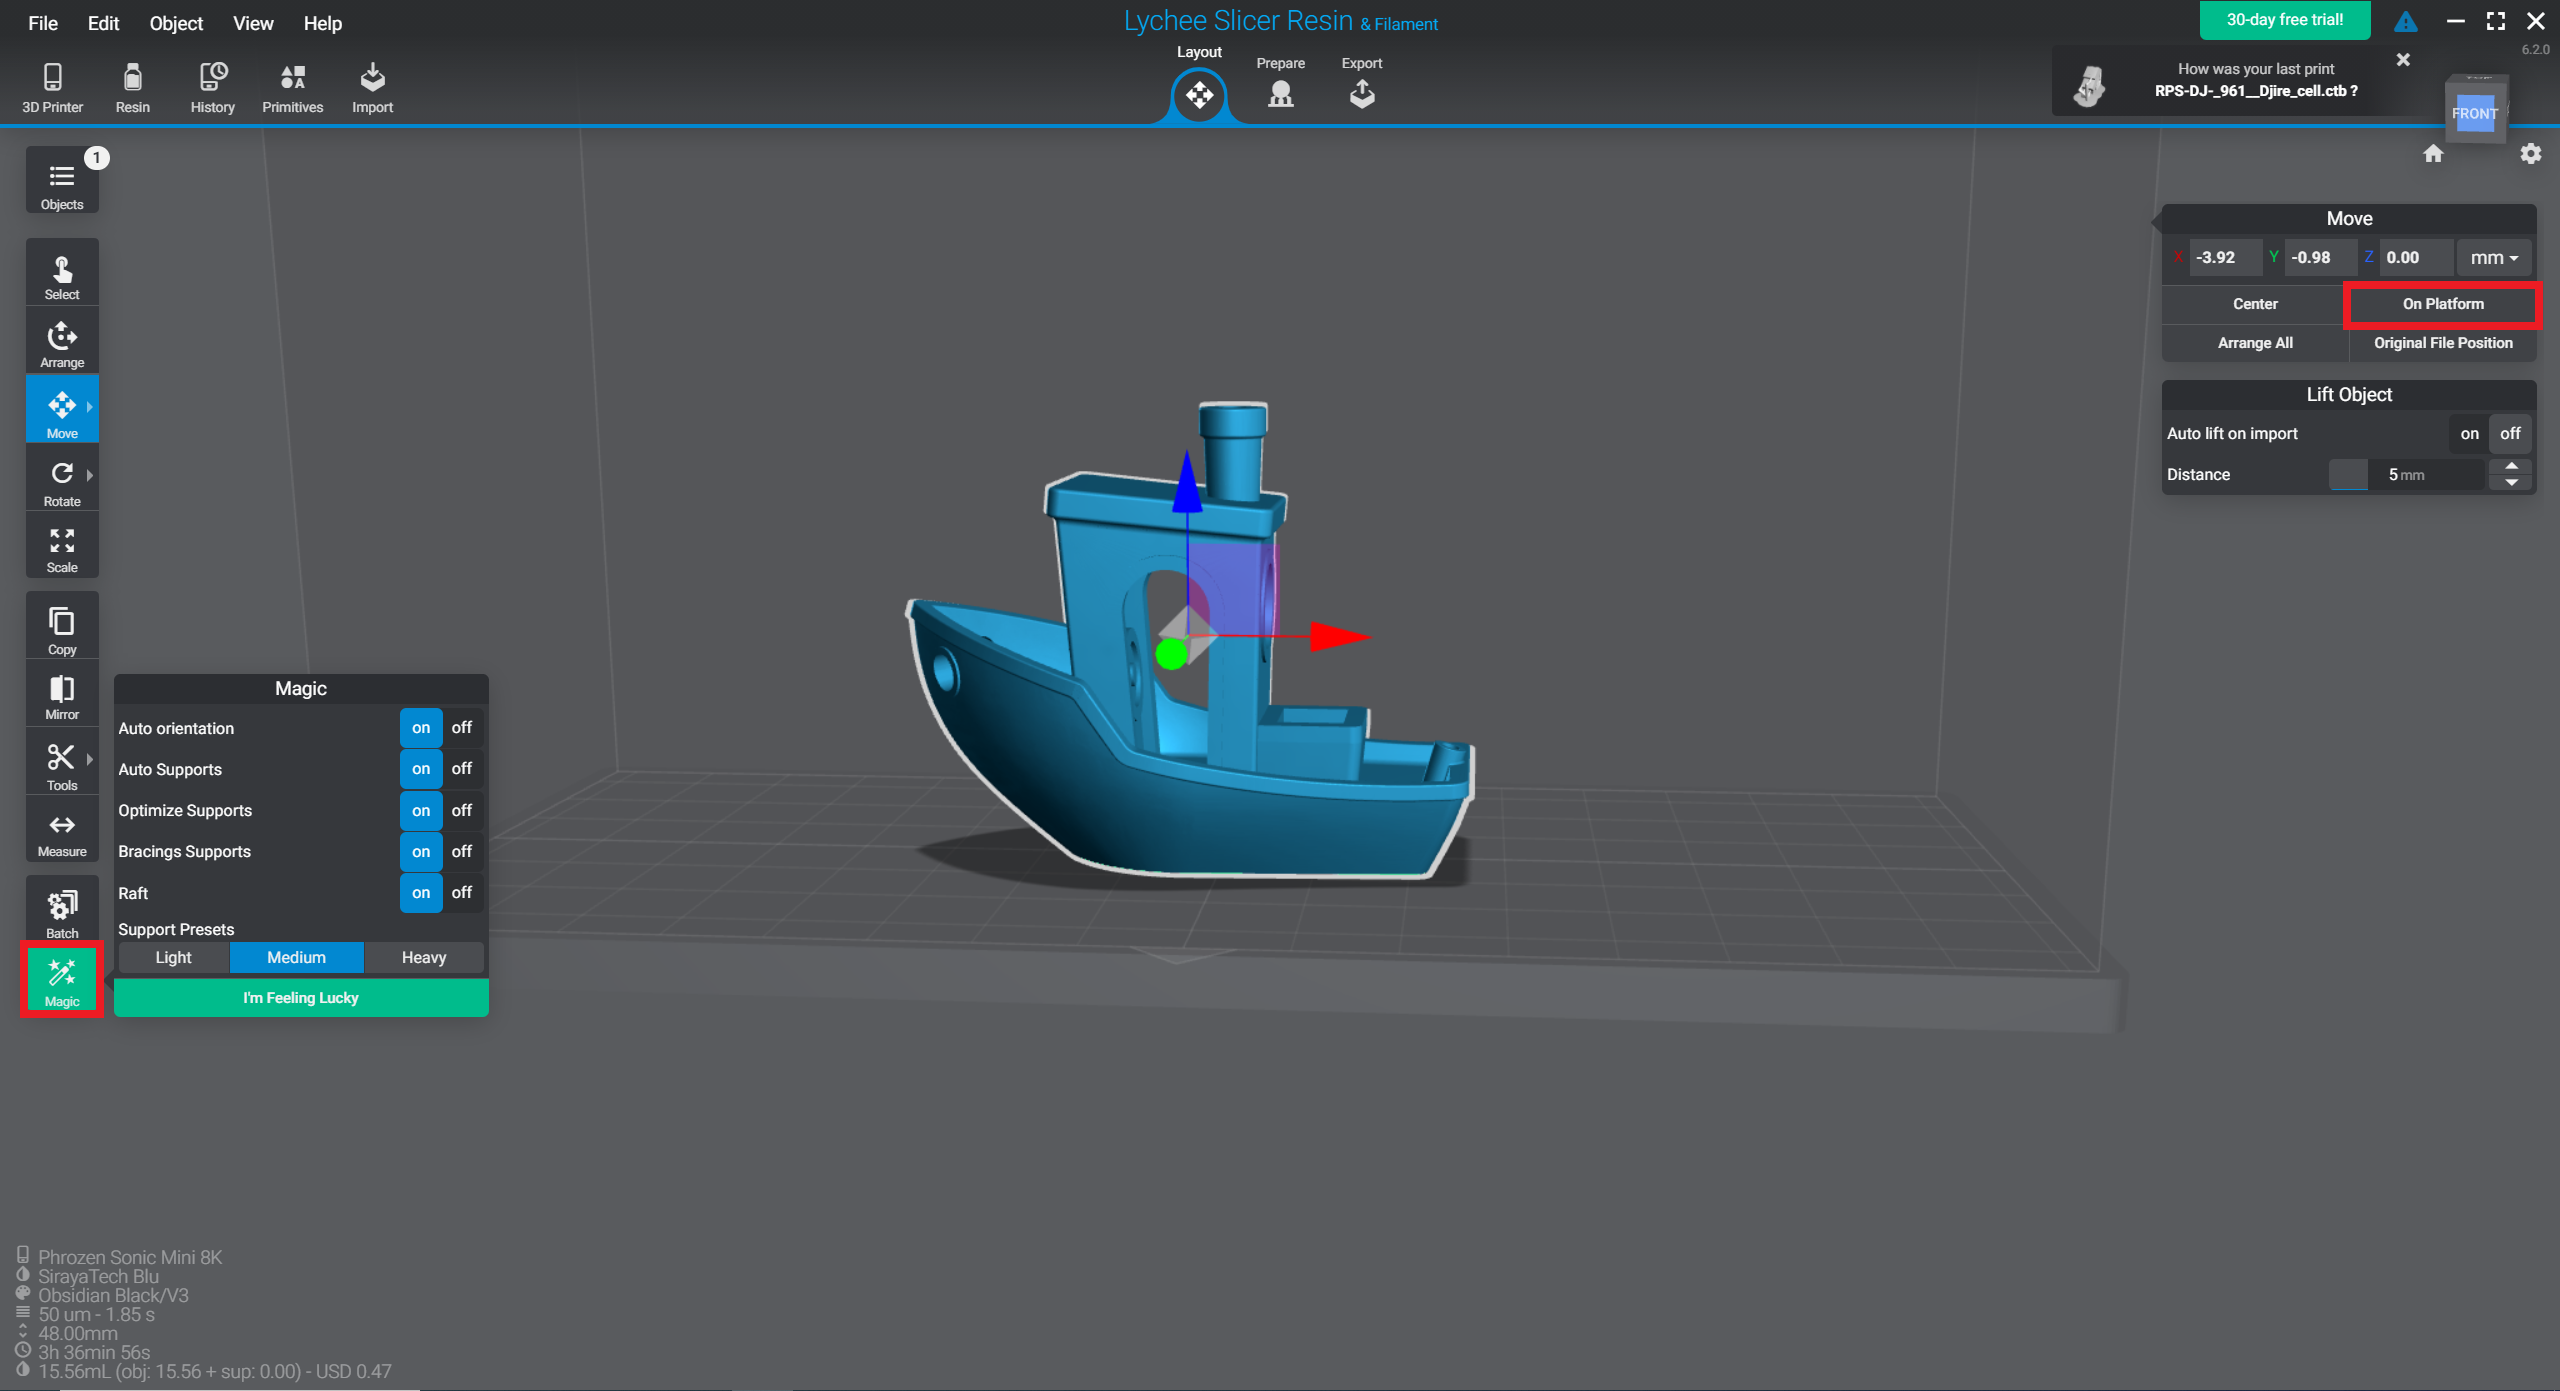
Prepare
This page is where the bulk of slicing will be performed. Add supports and rafts either manually or automatically by clicking the green Magic button or Generate Supports. If done automatically, double check to ensure that vital parts of the model are supported and material will be used sparingly.
Choose different raft types by clicking Raft on the left and choosing which raft you prefer. It is standard practice to have a raft of some kind.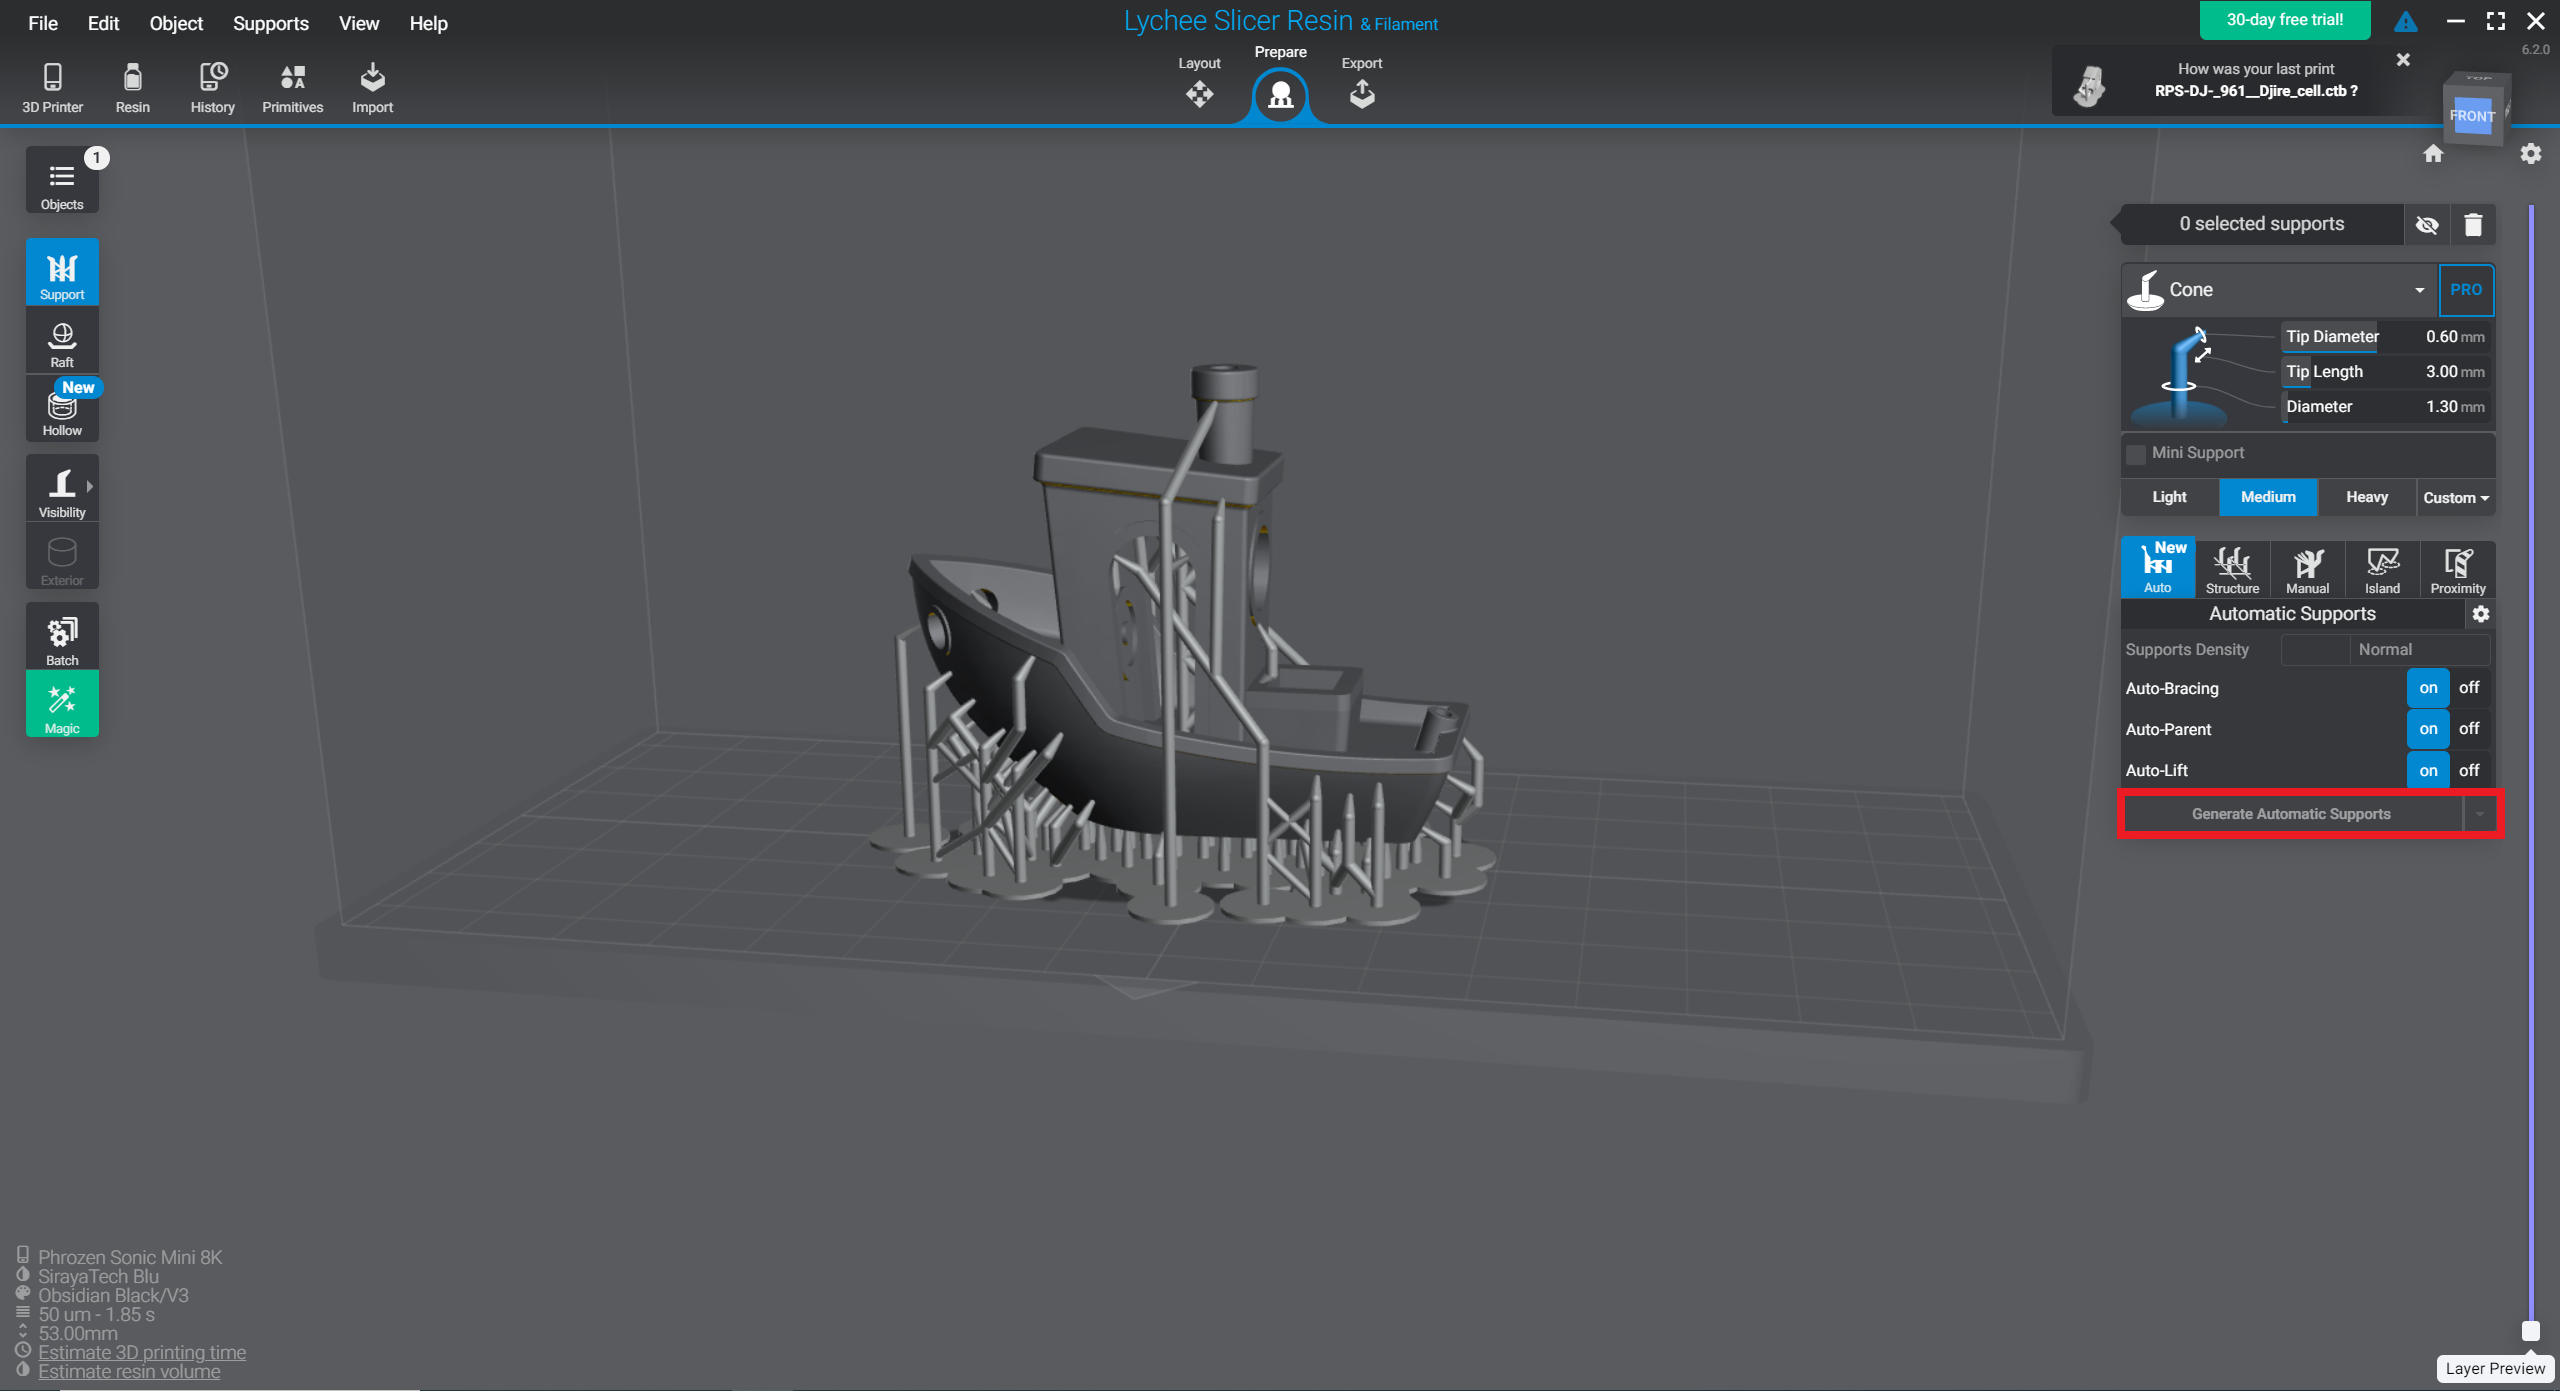
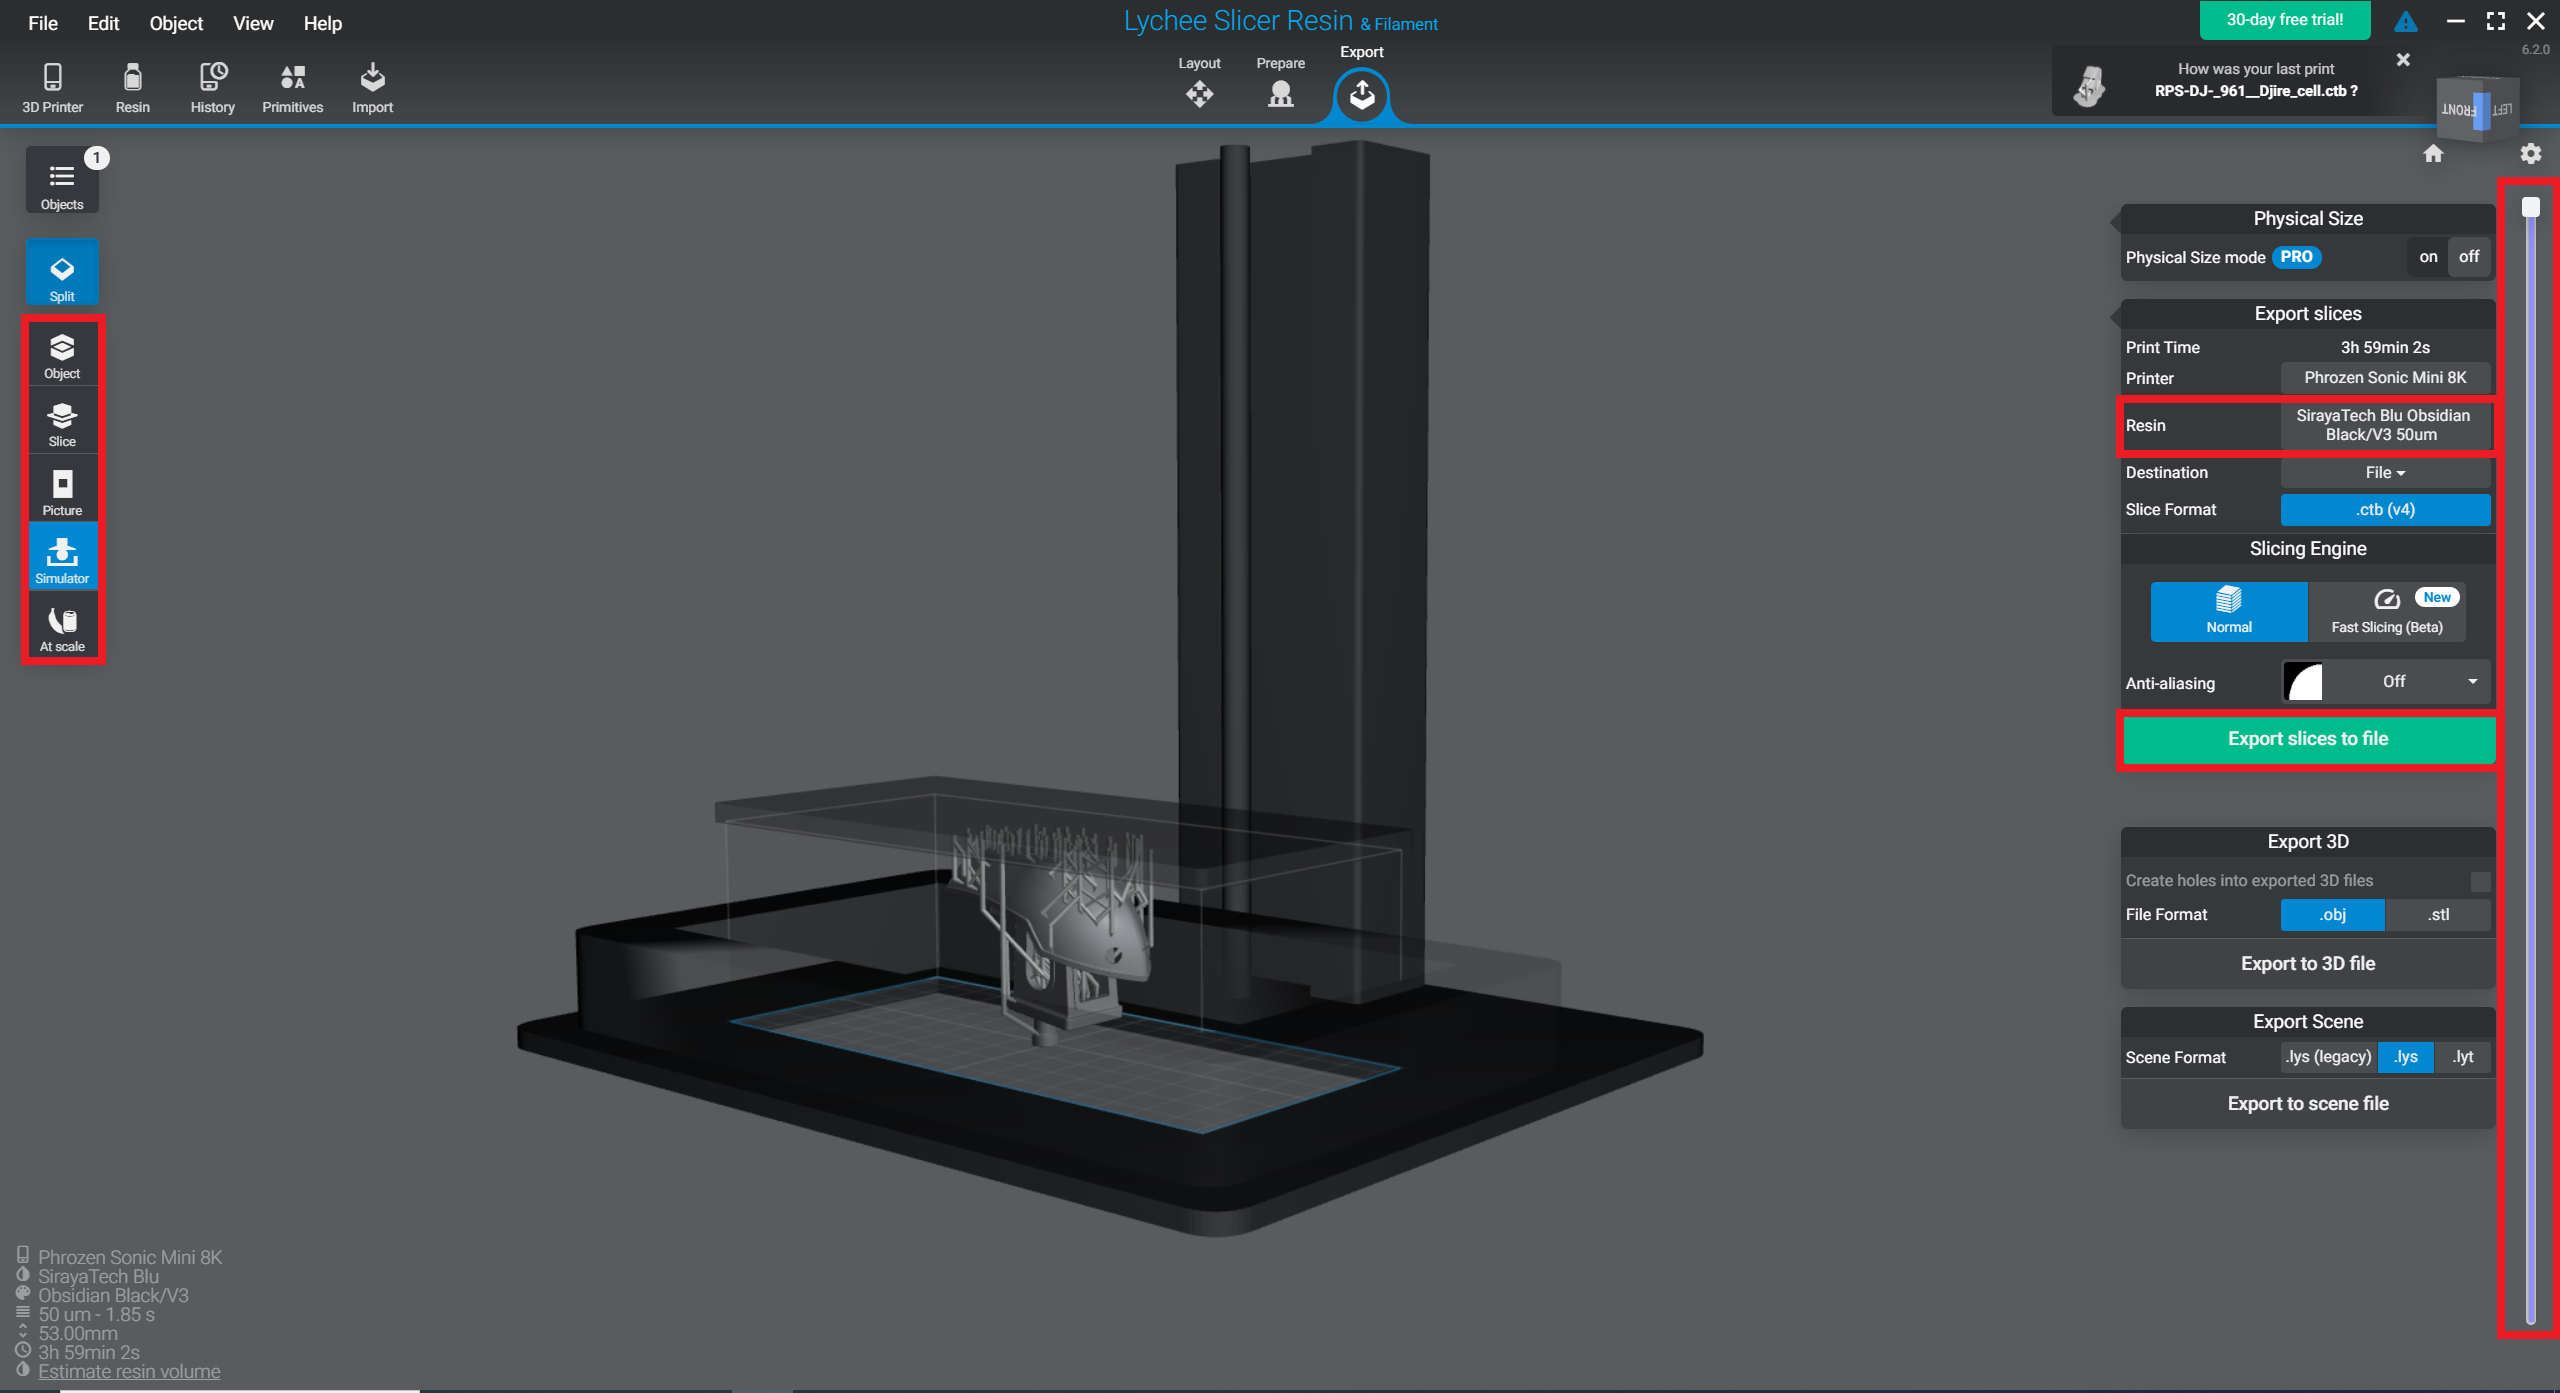
Export
Before exporting your slice, there are multiple preview windows that you can view your model. By using the slice scroller on the right side of the screen, you can view layer-by-layer images of your model in different modes:
- Object: view the model in space and see where supports and rafts begin and end
- Slice: view the entire slice
- Picture: view 2D image of a layer
- Simulator: view the model as it would print on the physical resin printer
- At scale: compare model size to everyday objects
Ensure that the printer and resin are correct with what is your desired material. Save the slice to your computer or a USB (there will be an ad that will pop up, but let it play through and press continue). The estimated print time and resin volume will show at the bottom left of your screen. This is important to note when making a reservation for one of the resin printers.