
OrcaSlicer Download and Setup for RPS
🚨🚨🚨 Important Security Alert 🚨🚨🚨
You should only download OrcaSlicer using their official website or from the official GitHub page. Other sites such as "orcaslicer․net" are NOT official websites for OrcaSlicer and may be potentially malicious. For your safety, avoid downloading OrcaSlicer from alternative sites as the links may be compromised. If the website looks sketchy, do not use it.
OrcaSlicer is a free, open source slicer for FFF/FDM printers that includes Klipper firmware support. Printers in the Rapid Prototyping Studio largely use Klipper-based firmware features, and OrcaSlicer is currently the preferred slicer for use with our machines. This page is designed to walk new users through the installation, setup, and use of OrcaSlicer for printers at our facilities.
Installing OrcaSlicer
- There are two methods of installing OrcaSlicer, using their official website or from the official GitHub page.
Official Website
- The OrcaSlicer Official Website is at OrcaSlicer.com. Do not use any other websites! There is a very clear visual difference. Their website should look clean and user-friendly with no ads.
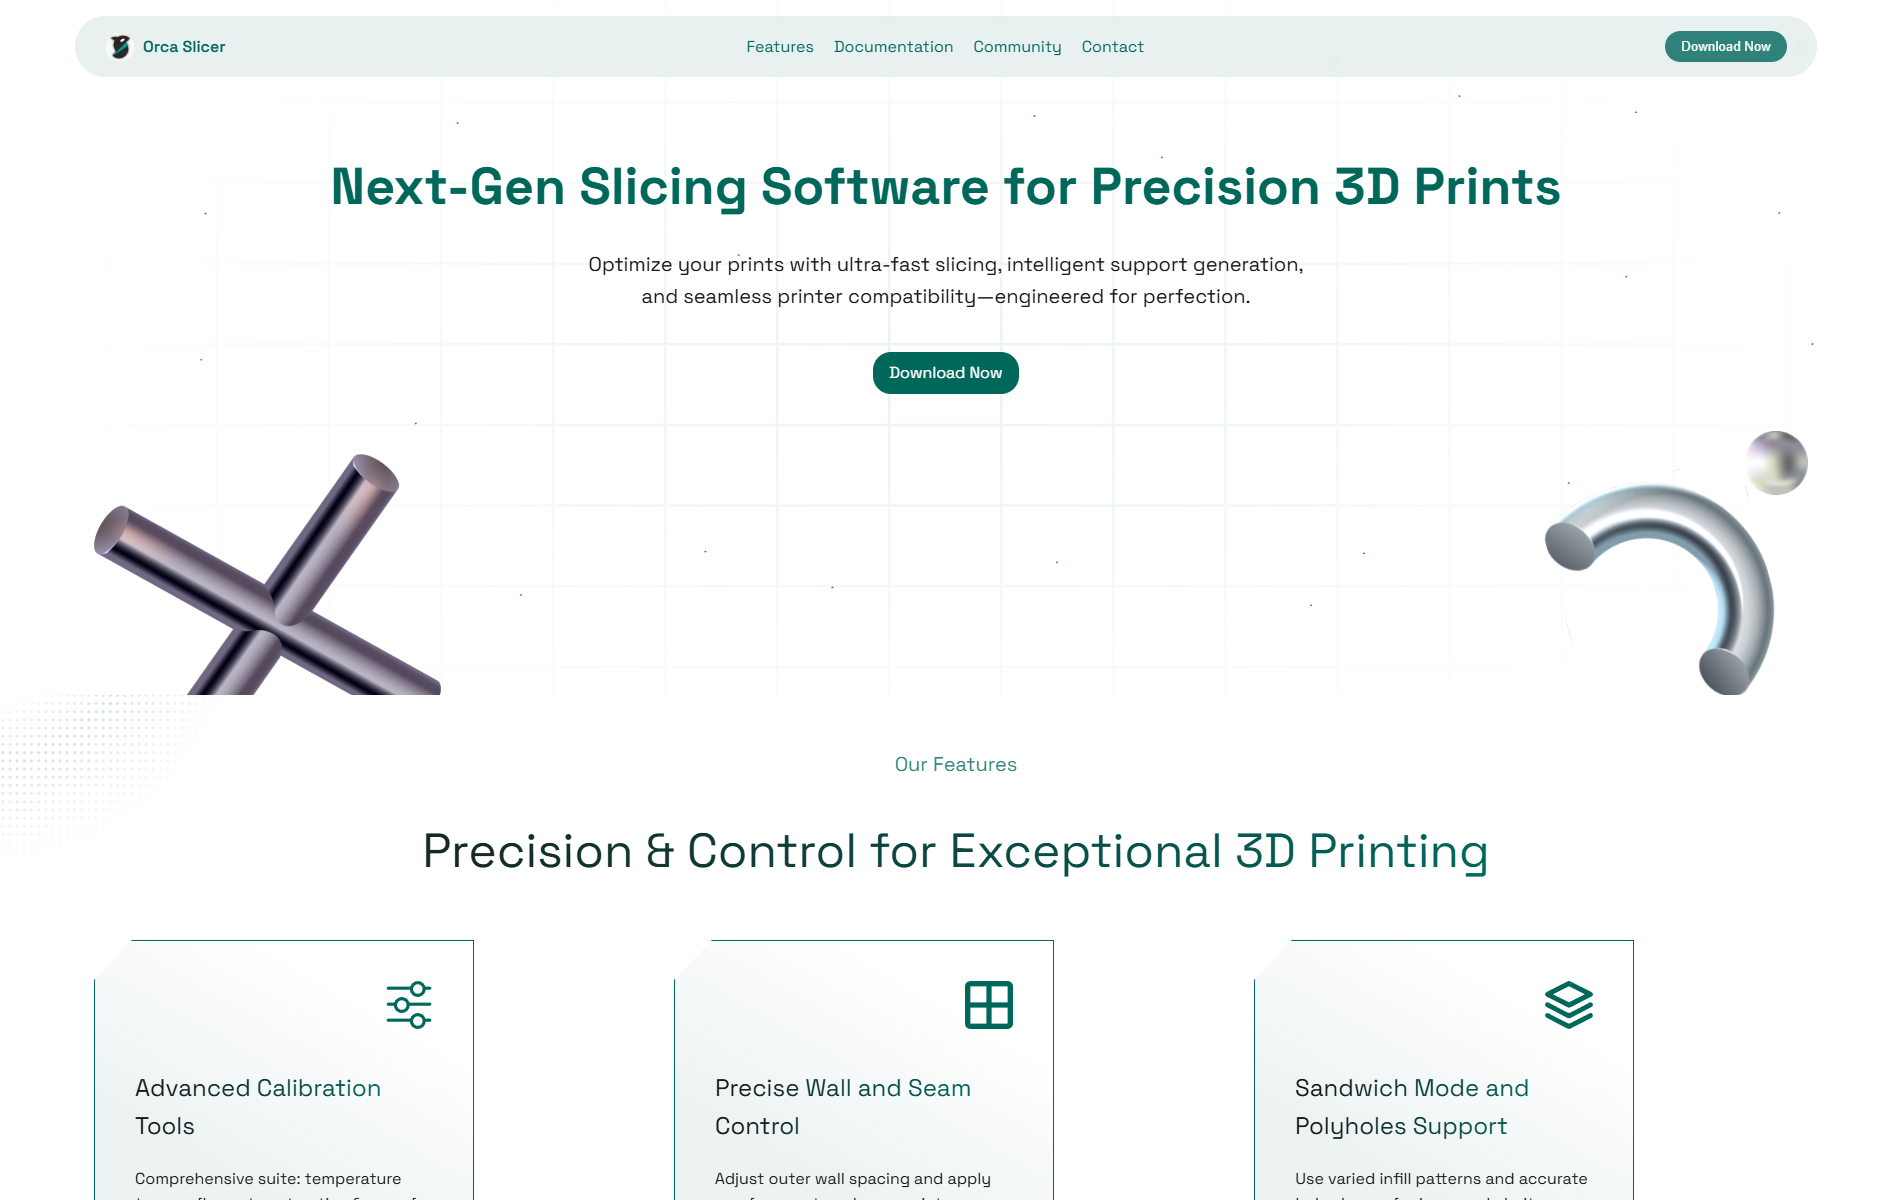
- Feel free to read about the documentation by scrolling down or simply click 'Download Now'.
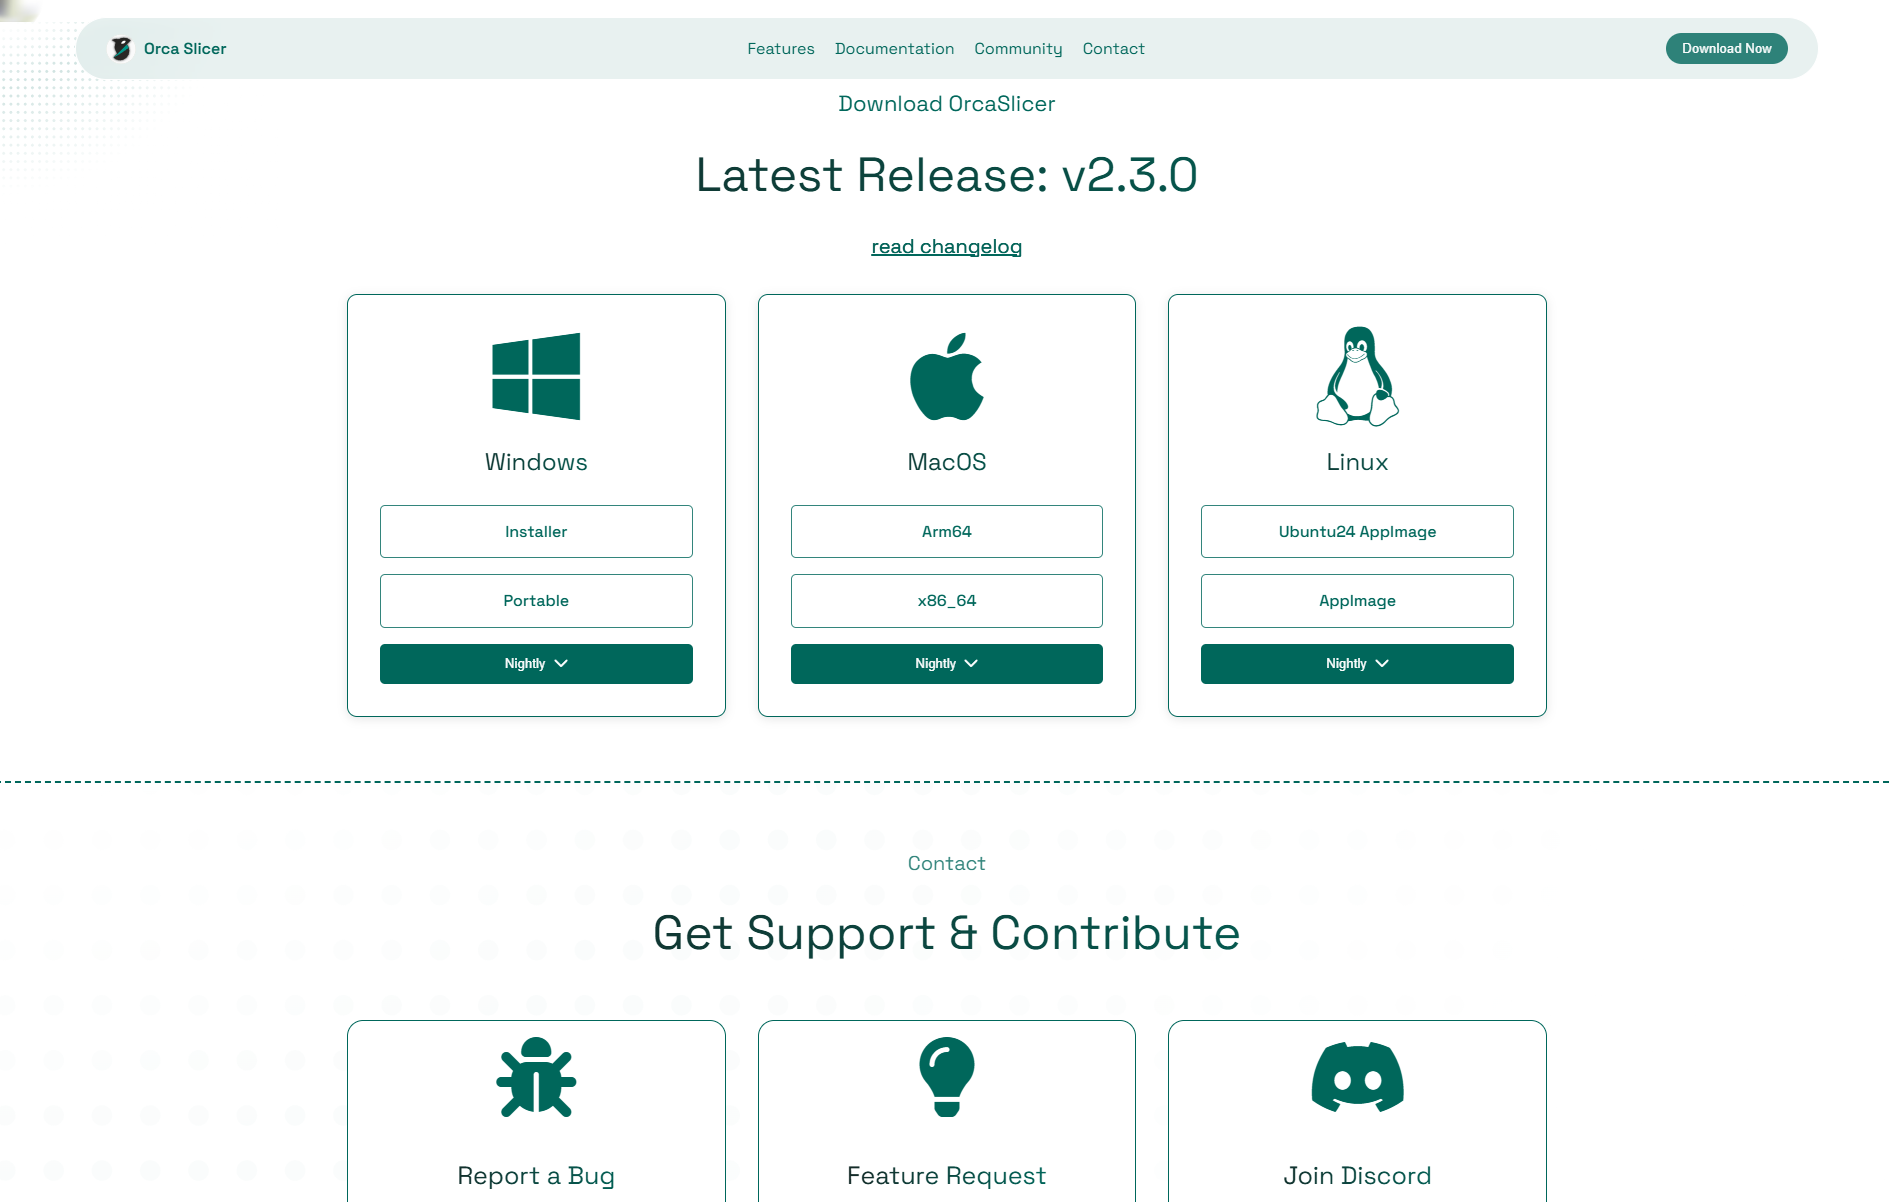
- Select the download for your specific operating system. We recommend selecting the standard download, and avoiding the portable or the nightly builds.
- Once it downloads, go through the installer wizard.
- Now continue setting up using our specific settings further down the page, or click here: Setting Up OrcaSlicer for RPS Use.
Official Github
- OrcaSlicer is maintained on GitHub at: https://github.com/SoftFever/OrcaSlicer. The latest stable release of the software is linked under the "Releases" section of the page:
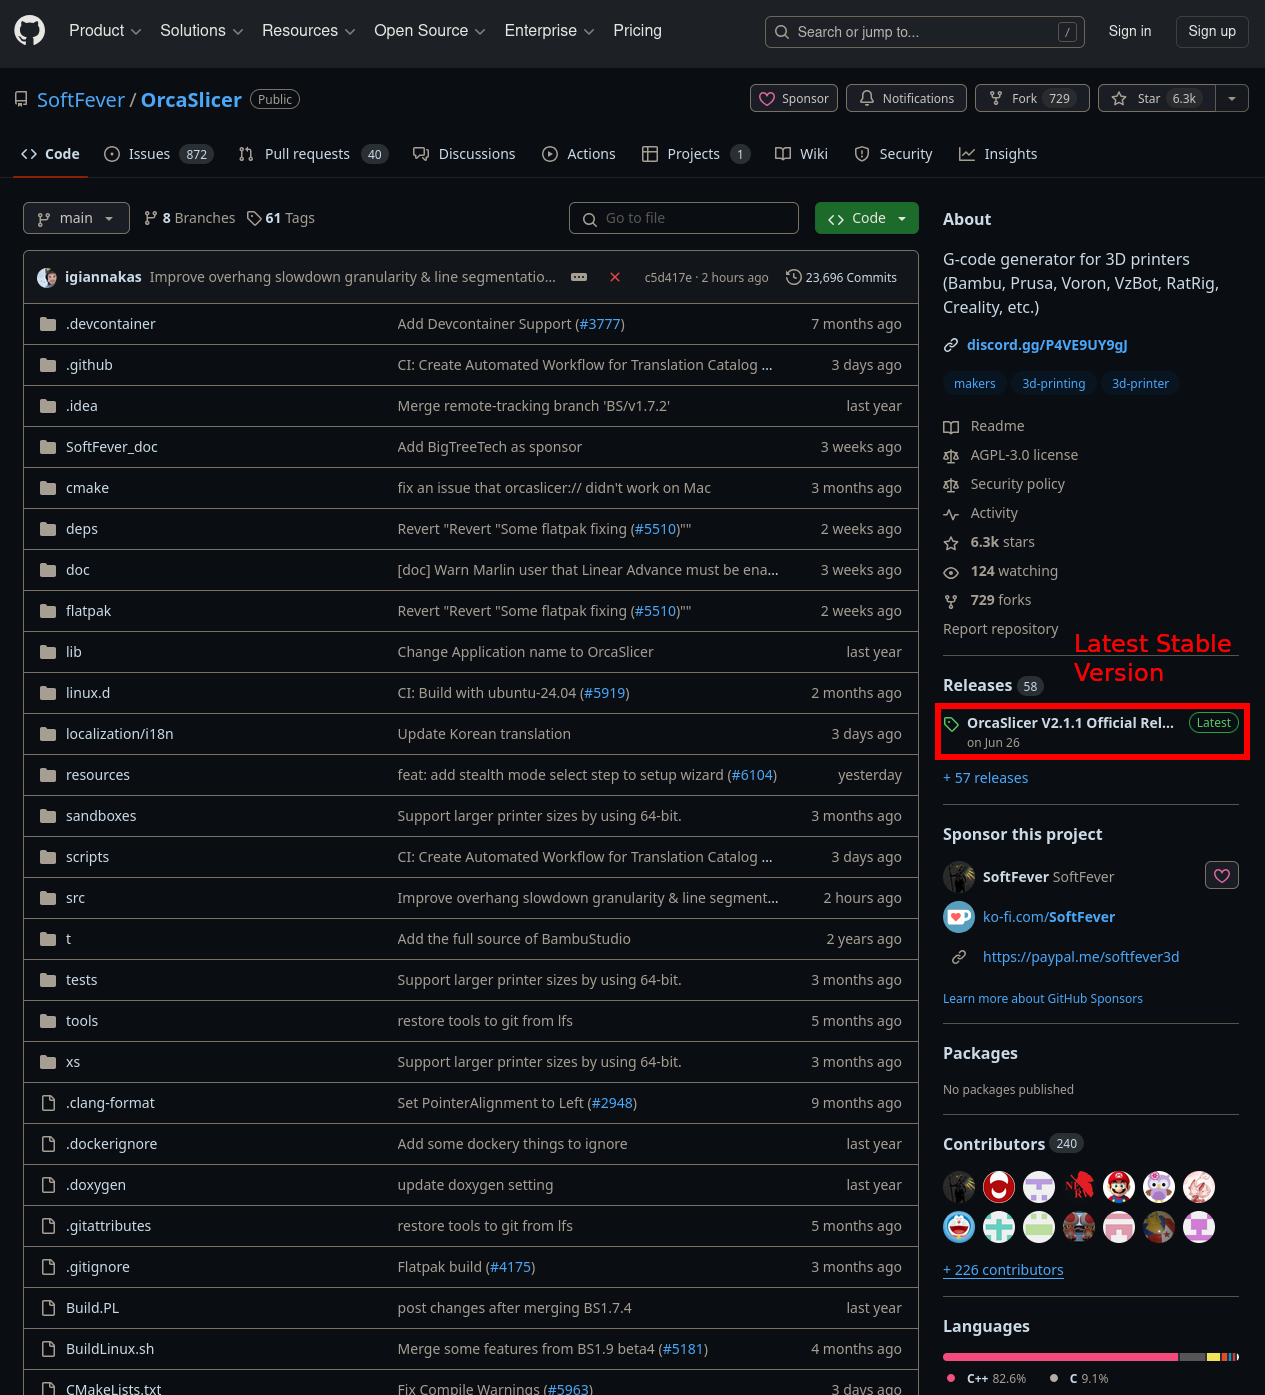
- You can also click on the "Releases" section title to link to a repository of all versions at https://github.com/SoftFever/OrcaSlicer/releases. This includes the latest stable version, but also allows you to revert to a previous stable release if you are having issues with the latest version on your system.
- Next, scroll to the bottom of the version you want to use, and download the correct installer for your OS:
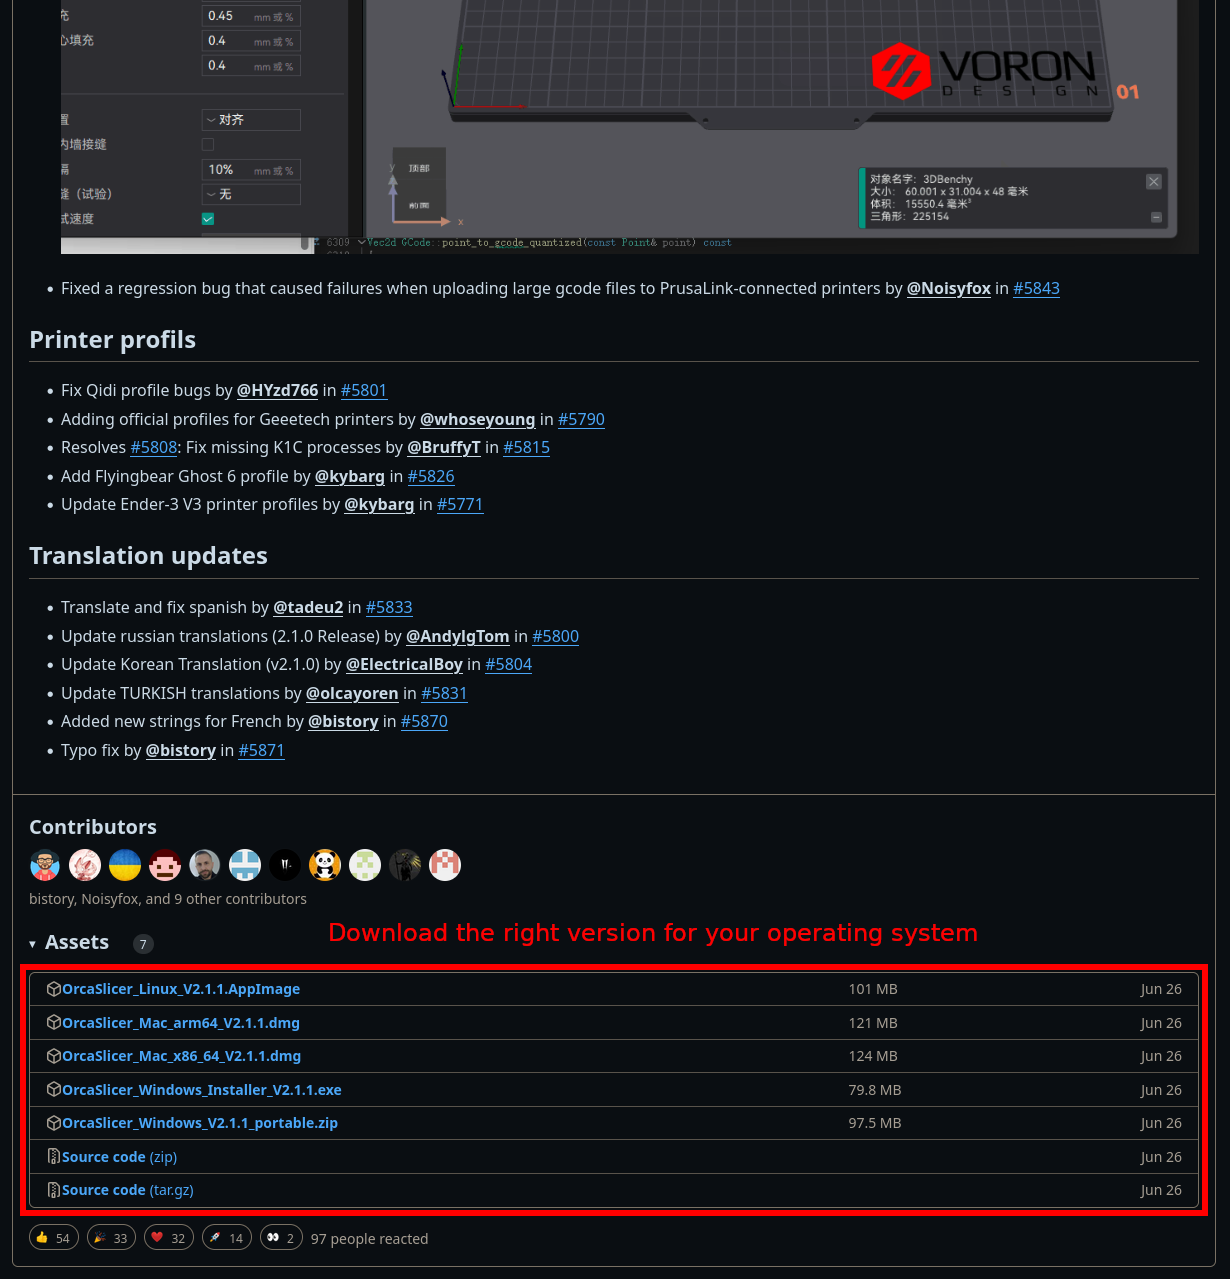
- Find the file you downloaded, and click on it to begin the installation process. The installation process should be similar for all OS types, but may not be completely identical.
Setting up OrcaSlicer for RPS use
Setup Wizard
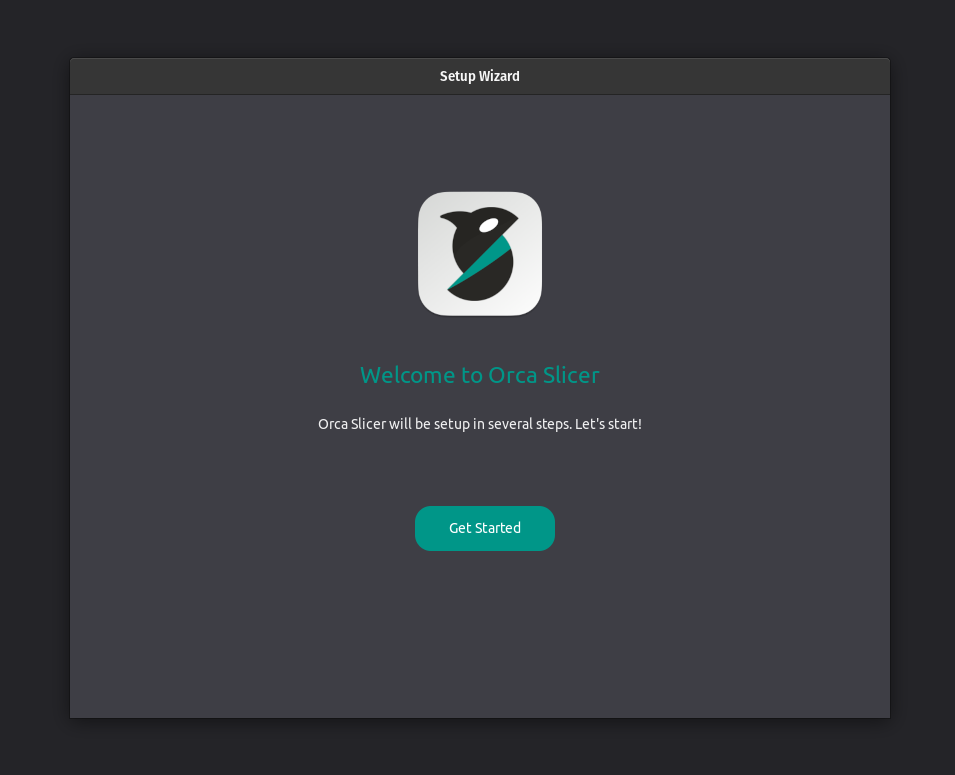
- The first time you run OrcaSlicer, you will be greeted with the Setup Wizard pop-up. This wizard will help with installing the printers and filaments used in the Rapid Prototyping Studio. Click "Get Started" to begin:
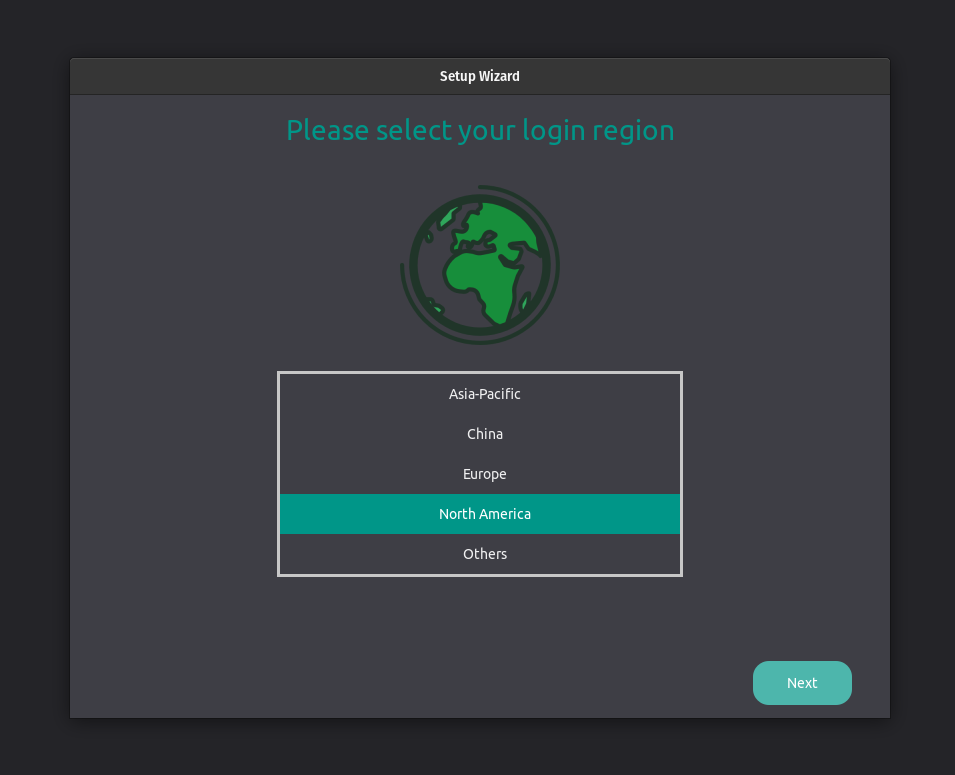
- Choose your region, in this case, "North America", then click "Next":
The next panel is where you will select which 3D Printers to add to your printer list. We will be adding four (4) printers used in the RPS. In the search bar, type "K1" to filter printers with K1 in the name. Add the following printer/nozzle size combinations by clicking the checkboxes as showing in the image below, but do not click next yet:
- K1 - 0.4mm nozzle
- K1C - 0.4mm nozzle
- K1 Max - 0.4mm nozzle

You will also need to search for "Voron 2.4" and select the profile shown below. Check the correct box and click "Next":
- Voron 2.3 350 - 0.6mm nozzle
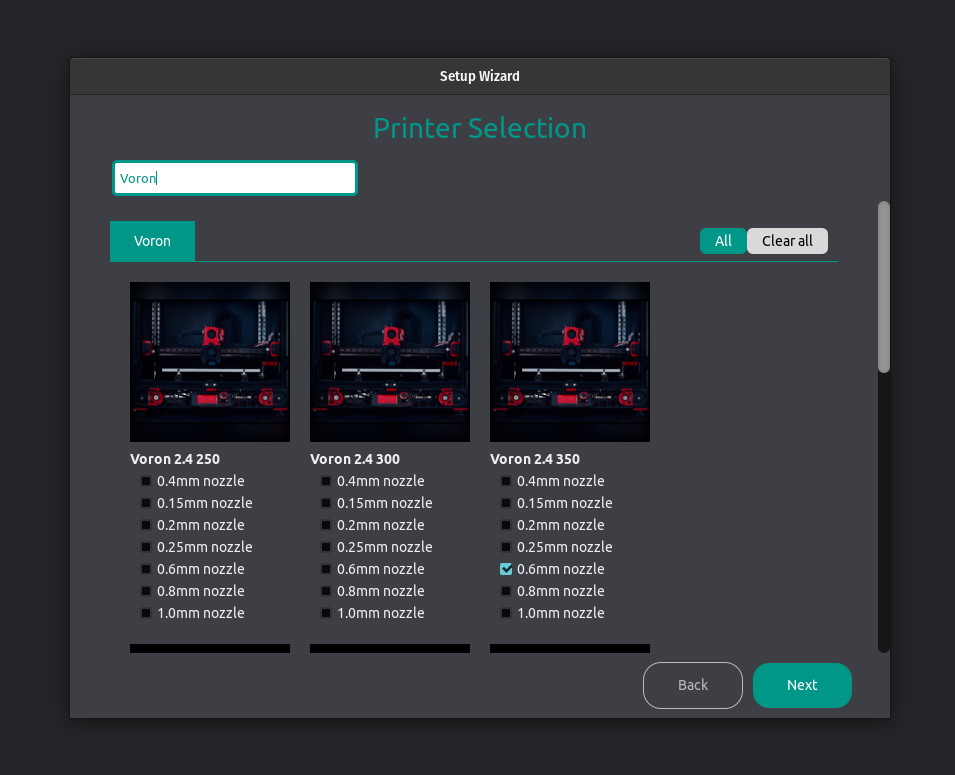
- Voron 2.3 350 - 0.6mm nozzle
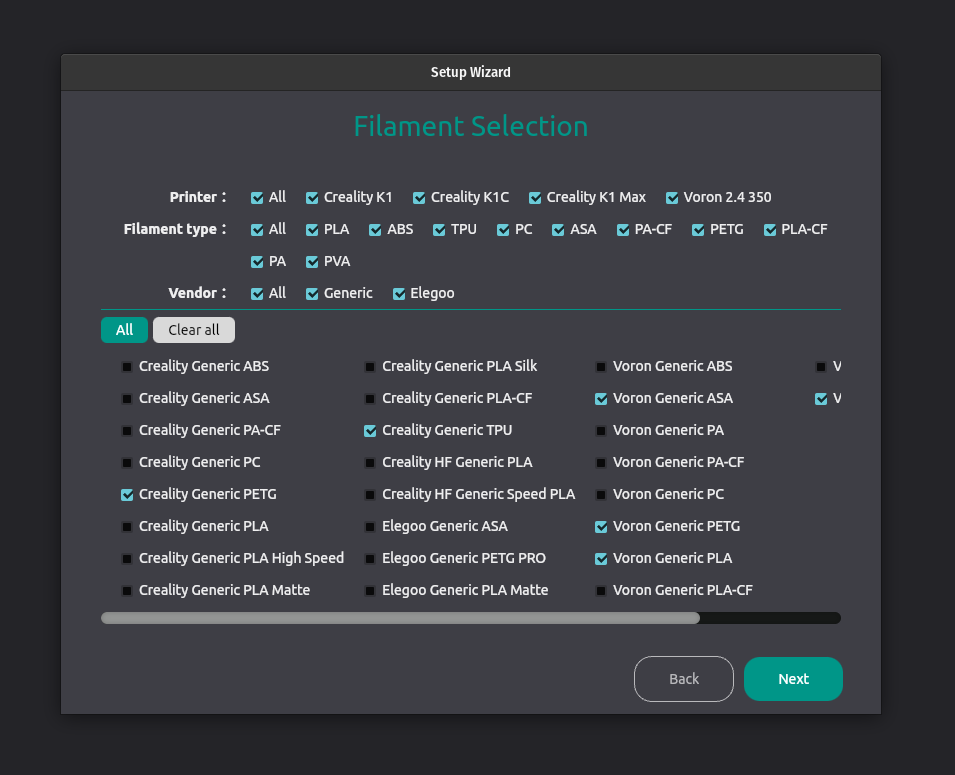
- The next panel is where you will select which 3D Printing Filaments to add to your filament list. Select the filaments shown below, then click "Next". If you plan on using specialty filaments, you can always add them in later.
- The final 2 panels are only relevant for users of Bambulab printers. You can leave these panels blank and click "Next" on each, as BambuLab printers are not used in the Rapid Prototyping Studio. You can conclude the Setup Wizard by clicking "Finish".
Importing Our Custom RPS Settings
To use our printers to the best of their ability and to prevent print failures, follow this process!
- Download the current RPS configuration settings. This will add our specific settings for additional filament types, as well as the Voron printers.
- In OrcaSlicer, click File > Import > Import Configs.
- Open the downloaded file. OrcaSlicer will automatically import the correct material settings. Major changes are new RPS settings for ASA, PETG, temperature control for print chambers, and Voron printer configurations.
How to use OrcaSlicer
- We are currently working on a tutorial for using OrcaSlicer with RPS Printers. Until that is complete, We have included a set of Youtube videos which cover the general usage of OrcaSlicer very well.
- The first youtube video provides an excellent overview of the basic usage of OrcaSlicer to set up your model for 3D printing, starting at 5:23 in the video. It does not cover supports, but is useful for beginners wanting to understand the basic setup operations in the program: https://youtu.be/M-hqbP8JNIw?si=1XNFawg1AJWpP0F6&t=323
- The second video provides an in-depth overview of how supports can be used and modified in OrcaSlicer. In most cases, simply using the default automatic settings, and clicking "enable supports" is all you need to do, but this video covers the many different options that may be useful for custom supports: https://youtu.be/i6D-JNu6wE8?si=3RcEie-ZAMqS5FVA